Friday, 24 January 2014

Render image with ambient Occlusion / 3D animatic update

This is the final render image with Occlusion .

At now I have started to animate.
For revise the story of it, Here is the 3D animatic


Moreover, here is the update version (background) of the back part of the 3D animatic


As for the last scene, because of my interior is small, at last scene we see the boy laying on the bean bag, a far shot. So I deleted the wall and put the camera far to achieve the shot/angle. I have tried to use focal length to make the distance far and show the wide shot, but its not good result.
Above image is the focal length adjusted 


This image is the version of deleted wall. Thanks to my friend Jeffrey Lim suggested the lighting how it should be in the ending.

Next stage I will keep developing the lighting in every scene, every shot.
And start to animate

Sunday, 19 January 2014

Particles render

Today I keep developing the particles effect in my interior.
From maya nParticles tab, I create an emit and also add a Field effect to make the particles spin in the air.
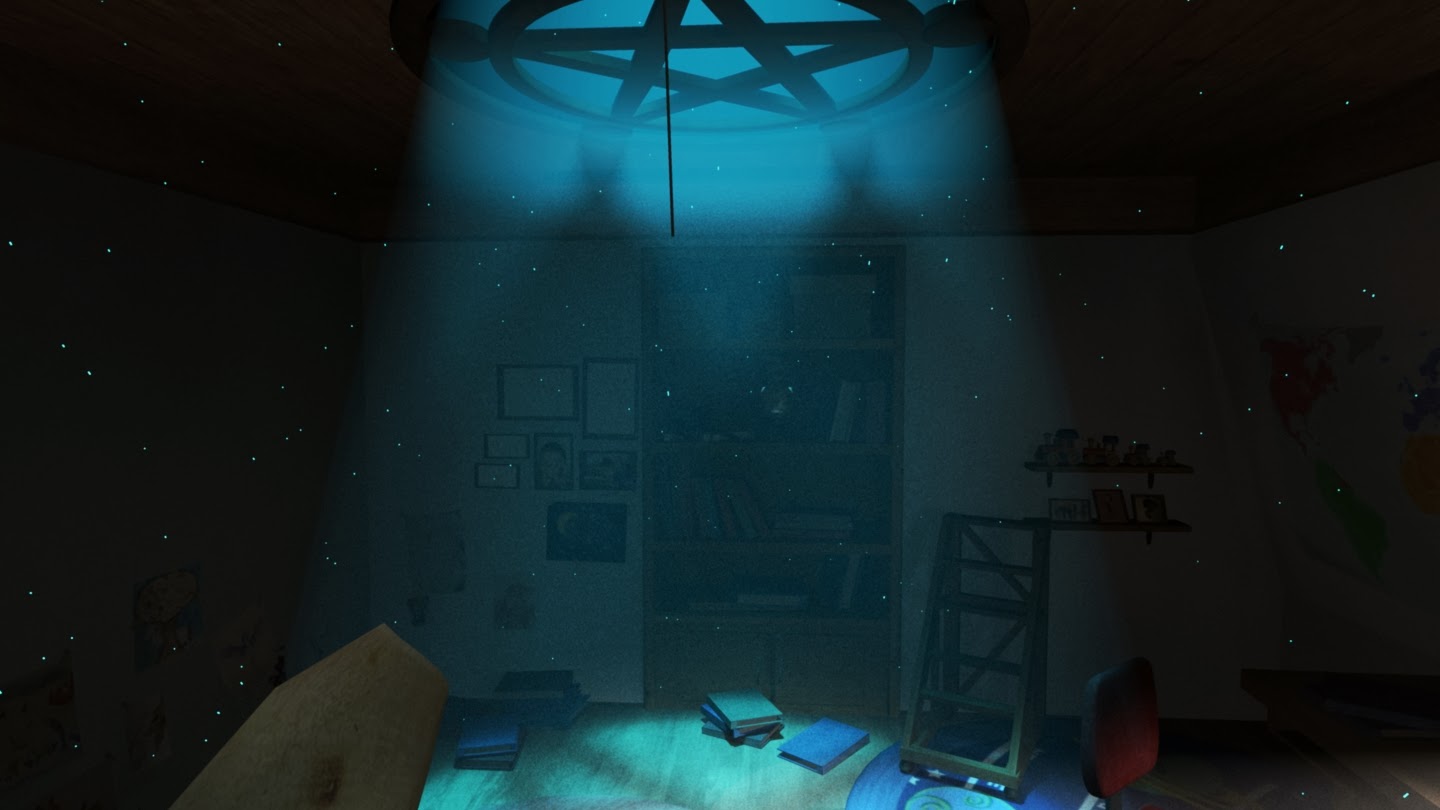
For my story, the particles will comes out when the cloth down.
Here are some images of the particles render


Saturday, 18 January 2014

nCloth and Particles

After I done mostly of the interior lighting.
I am experiment the ncloth and particles in maya.

For the story, the boy pull down the cloth and let the light comes in.
The cloth falling is using nCloth.
Moreover, there are beautiful particles are falling too.

Here is the render image of the particle falls n the cloth falls.
I am still testing the particles, keep exploring the attribute and get a better result.


The camera scene of the cloth falling.
I have tested and rendered a video playblast of the cloth falling


Global Illumination

For GI , there are many setting to explore and to get different results.
At first , I was testing the Accuracy inside the GI attribute, after then is the Radius of the photons.
After confirm the Radius of the photos is good enough for the interior. The Merge Distance inside the setting also will affect the result.


Above images is the progress of testing GI
first image is the radius setting. The default radius setting is 0, I have to make it 0.1 to see the photons cover the interior. If  I enlarge the number to bigger, and i get the 2nd image result.

After that, I put the radius back to 0.1, and then I edit the merge distance. For the merge distance 0, the light photons will be more on the windows which is where is the light comes from.
Next, I slowly to increase the merge distance number , and the the whole interior have the nice and balance photons.Which is the 3rd image I have got.

In conclusion, Radius, Merge Distance and also Accuracy are works together .
and the end result I've got is the image below.


Friday, 17 January 2014

Lighting Version _ Global Illumination

I got some feedback about my interior look too dark.
I try to enhance it.
For the lighting quality, I been told to turn on Global Illumination
So I can get beautiful and better quality for my interior lighting.

I have made so many tests, went to the digital tutors for the Global Illumination tutorials.
I have used Final gather before, for global illumination. I have understand GI (global illumination) is auto create bounce light in the scene. from those 'photons'

As for final gather, its depends on the camera working, and create bounce light.
As a result, for my project is going to be an animated film.
Its not just a still images, although I can use final gather and global illumination at the same time.
For this stage, I'm exploring and using GI first.

After that, I will touch up again .


there are still many noises and photons still can be seen..
I will keep exploring it and update another version soon
Here are some images of the interior.( without ambient occlusion)


After set up the whole interior lighting. I will go to each camera and set up/ touch up the lighting to make every scene has its own focal point.